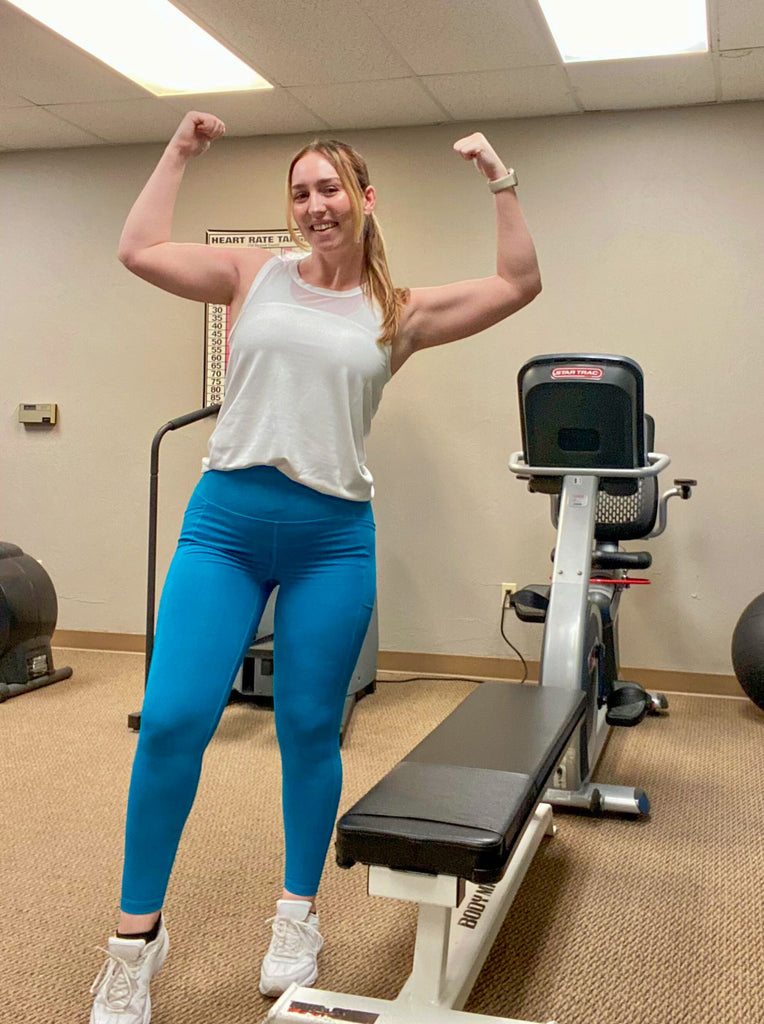
By Katy Duncan, Contributing Blogger
*Full Disclaimer: I am not a physical therapist, personal trainer, or doctor. Always consult with a professional when it comes to injuries and muscle recovery. The information in this blog post comes solely from my experience having dislocated my shoulder four times and my process of returning to arm workouts.*
So you sustained an arm injury, huh? Shoulder?? Yeah…me too.

My name’s Katy and I’ve dislocated my shoulder 4 times-yep, 4 times. The same shoulder too. And I’ve had plenty of experience getting back on track with workouts when it happens. It’s important to build that muscle back up in the injured area so you can strengthen the shoulder and lessen the chances of another injury. Unfortunately, the more times you dislocate your shoulder, the more likely it is that it will happen again (hence the 4th dislocation) but you can fight against it!
I’ve picked up a few helpful stretches, exercises, and tips for when it’s time to integrate an arm workout back into the mix.
Tip #1 - Recover Properly
You know what they say: "No pain, no gain." But when it comes to recovering from a shoulder injury, proper rehabilitation is crucial and if there’s pain, there will most certainly be less gains. Get yourself a fantastic physical therapist who'll guide you through exercises designed to restore your shoulder's stability and strength-that’s step number two. Step number one is: Get your shoulder back in place. Be sure to follow through on stretches and exercises on your own when it’s time.
When I dislocate my shoulder, I always try to immobilize it with a sling for the first few weeks-at least. Then I move to tape for a few weeks and then go sans sling or tape a few weeks after that. All in all, I’m not integrating any major movements or upper body workouts for about 4-6 weeks after dislocating it. A few other things I did during that recovery time were:
- Ice packs to reduce swelling
- Heat packs to relax muscles
- Taking Ibuprofen as needed for swelling and discomfort
Of course, you should always consult with your physical therapist in case your injury varies and requires a different course of action.
Tip #2 - Stretch It Out

Picture this: You take a rubber band and you stretch it as much as you can, over and over again. Did it return to its original size and elasticity?? Probably not. Or at least not right away. The muscles in the shoulder are pretty much the same. After an injury, like a shoulder dislocation, those muscles are extra loose so while stretching will help, it’s important to go slow. Start by warming up your shoulder with gentle stretches post-recovery. Focus on keeping your muscles flexible and ready for action. Trust me, you'll thank yourself later.

Be mindful not to overstretch though. Since those muscles around the shoulder are likely to already be feeling loosey goosey, overextending can lead to another dislocation. That’s not what you want. A few stretches to try are:
- Gentle shoulder rolls - extend the arms out to the sides and gently roll them backwards and forwards. You can also shrug them up and down.
- Cactus Arms - Bring arms out to the sides in a bent 90 degree angle. Gently squeeze the shoulder blades back. You can also pulse your arms up and down.
Likely, any above the head movements are going to feel uncomfortable, listen to your body and don’t fully extend your arms above your head if it feels like your shoulder is at risk of popping out of place again.
Tip #3 - Target Shoulders

Now that you’ve given your injury plenty of time to heal, you’re ready to start integrating an upper body workout into the routine. Hooray! Focus more on your form and being intentional with each movement rather than focusing on how much you’re lifting. As for workouts that will help target your shoulders and build up that muscle, try these:
- Push ups
- Lateral raises
- Curls
- Dumbell Presses


Bonus Tip: Tape it Up!
In the early stages of getting back into the swing of things, give your recovering shoulder some extra TLC. Invest in some muscle tape to provide additional support during your workouts. It's like a superhero cape for your shoulder, keeping it safe and sound as you gradually rebuild that strength.
I cannot say enough how much muscle tape helps. It can be extremely sticky though so make sure you place it right the first time and plan to leave it on for at least a couple of days. It’s not messing around! You can use a mild soap and a little water to peel it off (with slightly less pain) when you’re ready.
Bonus Tip: Lightweights Are the New Heavyweights
As you embark on your journey to rebuild that mighty arm muscle, remember to start with lighter weights. Aim for about half of what you used to lift pre-injury. It may feel like a humbling experience, but trust me, slow and steady progress is the name of the game. Rome wasn't built in a day, and neither will your delts be.

Recovering from a shoulder injury and rebuilding arm strength isn't for the faint of heart. Embrace the challenges, stay committed to your rehab, and always listen to your body. Stretch it out, target those shoulders, rock that physical therapy, tape it up, and don't shy away from those lighter weights. You've got this!
Remember, setbacks are just setups for epic comebacks. So, lace up those sneakers, strap on your determination, put on your cutest RBX Active outfit, and let's rise above those shoulder hurdles together! Stay fierce, stay fabulous, and stay fit!
…And remember, hardcore UFC fighters dislocate their shoulders all the time. You’re basically one of them now.


